


Fermenting cheese at home is an ancient art that has been passed down from generation to generation. Not only is it a fun and rewarding hobby, but it also allows you to experiment with different flavors and textures to create unique, handcrafted cheeses. Whether you’re a seasoned home cook or just starting out, this guide will give you everything you need to know to get started with fermenting cheese.
Fermenting Cheese
Fermentation is the process of using bacteria, yeast, or mold to convert sugars and starches into lactic acid, alcohol, or other by-products. This process has been used for thousands of years to preserve food and enhance its flavor. In the case of cheese, the bacteria consume the lactose in the milk and produce lactic acid, which helps to preserve the cheese and gives it its distinctive tangy flavor.
There are many different types of cheese that can be fermented at home, including soft cheeses like ricotta, feta, and brie, and hard cheeses like cheddar, gouda, and parmesan. The process of fermenting cheese is relatively simple and can be done with just a few basic ingredients and tools.
To get started, you’ll need:
- A gallon of high-quality milk (cow, goat, or sheep)
- A starter culture (can be purchased online or at a specialty cheese shop)
- Rennet (an enzyme that helps to coagulate the milk)
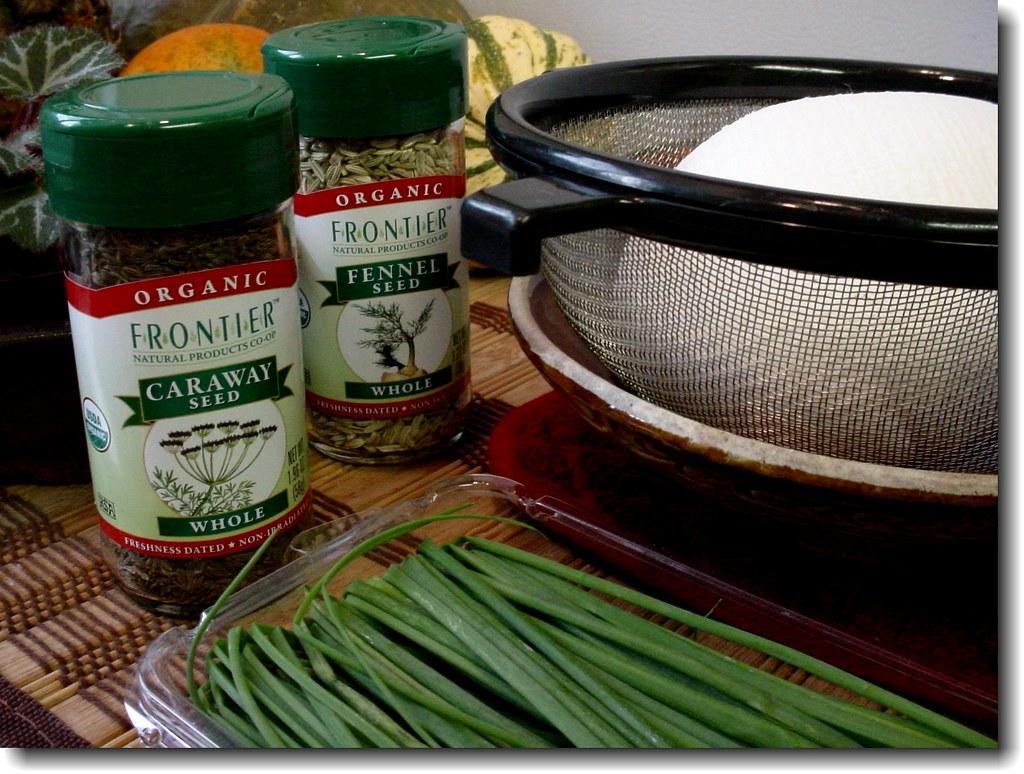
- Cheesecloth or muslin
- A thermometer
- A large pot or cheese vat
Step 1: Heat the milk Begin by heating the milk in a large pot or cheese vat over low heat. Slowly raise the temperature to 86°F, making sure to stir constantly to avoid scorching the bottom of the pot.
Step 2: Add the starter culture Once the milk has reached 86°F, it’s time to add the starter culture. Simply sprinkle the culture over the surface of the milk and stir gently to ensure that it’s evenly distributed.
Step 3: Add the rennet Next, add the rennet according to the instructions on the package. Make sure to stir the mixture gently to ensure that the rennet is evenly distributed.
Step 4: Let the mixture coagulate Cover the pot and let the mixture sit undisturbed for about an hour, or until the curds have formed and the whey has separated.
Step 5: Cut the curds Once the curds have formed, use a long knife or curd cutter to cut the curds into small cubes. This will help to release the whey and encourage the curds to form.
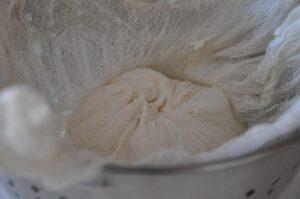
Step 6: Drain the whey Use cheesecloth or muslin to drain the whey from the curds. You can also use your hands to gently press the curds to release any remaining whey.
Step 7: Salt the cheese Once the curds have been drained, sprinkle salt over them and mix gently. The salt will help to preserve the cheese and enhance its flavor.
Step 8: Mold the cheese Next, mold the cheese into the shape you desire. You can use a cheese mold or simply form the cheese by hand. Place the cheese in a warm, humid place to allow it to mature.
Step 9: Age the cheese The aging process can take anywhere from a few days to several months, depending on the type of cheese you’re making. During this time, the cheese will continue to ferment and develop its flavor. Be sure to store the cheese in a cool, humid place.
Keywords: fermenting cheese, tips for fermenting cheese, steps for fermenting cheese, fermenting cheese basics, how to for ferementing cheese
Check out our Novel Writing Workbooks
Check out Little Tree Food Forest for articles on food forests and homesteading.
Check out FoodieScapes for articles on growing, fermenting and preserving food
Check out StoryScapes.World for articles on writing.
Subscribe to our newsletter to get information delivered to your inbox on edible landscaping, growing food and medicinal plants, growing mushrooms, foraging, fermentation, food preservation, raising small livestock, and more.